
Skill level

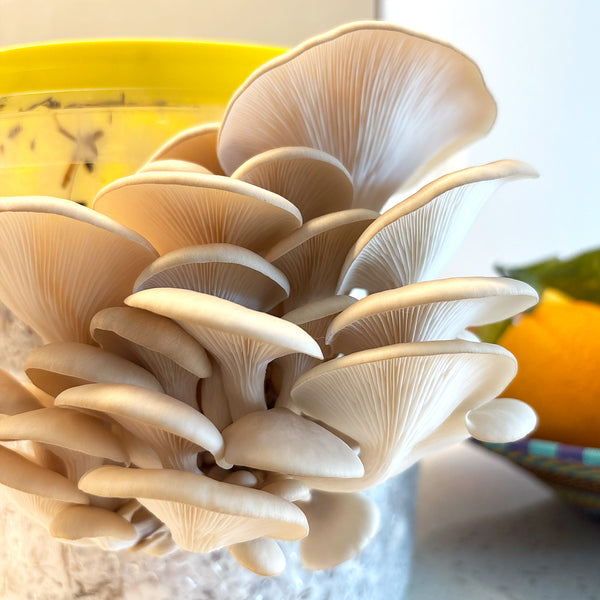
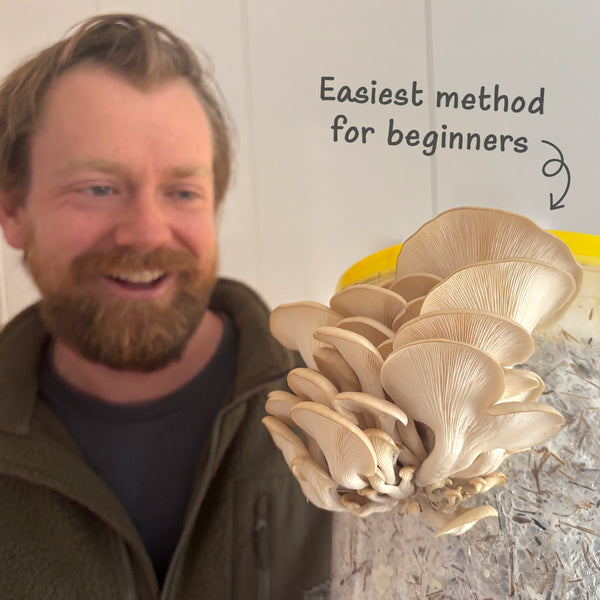
DIY Oyster Mushroom Bucket Kit
Sale price
$49.95
Tax included
Beginner
Grow location
Indoors or in a grow tent or chamber
Growing temp
Incubate at 20°C to 24°C
Fruits at 16°C to 30°C
Time to grow
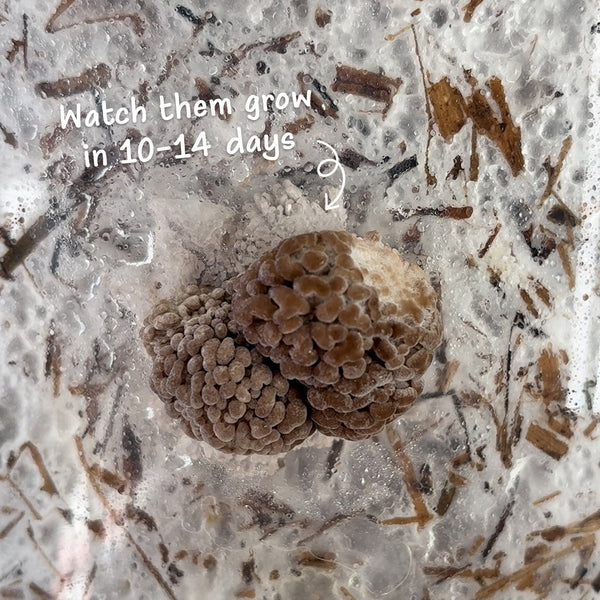
2 weeks on average
Shelf life
Use immediately for best results or store spawn refrigerated for 3 months.
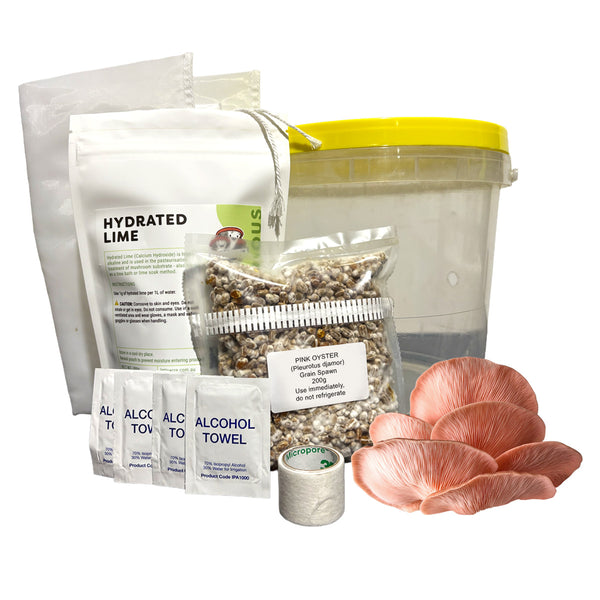
*Pink Oyster spawn must be used immediately and can't be stored in the fridge.
WHAT'S INCLUDED
Learn how to grow your very own gourmet oyster mushrooms from scratch with this convenient DIY Mushroom Bucket Kit.
Watch our step-by-step video instructions and learn the simplest, easiest and most economical method to grow your personal supply of delicious home-grown mushrooms. You’ll have fresh mushrooms within weeks.
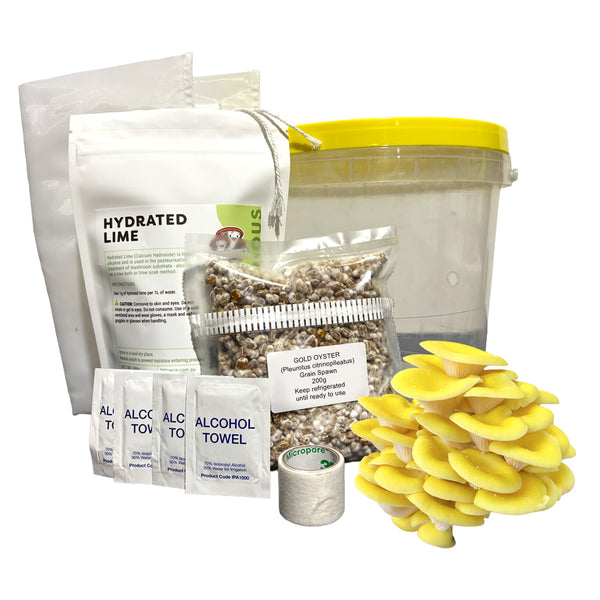
Included in the kit:
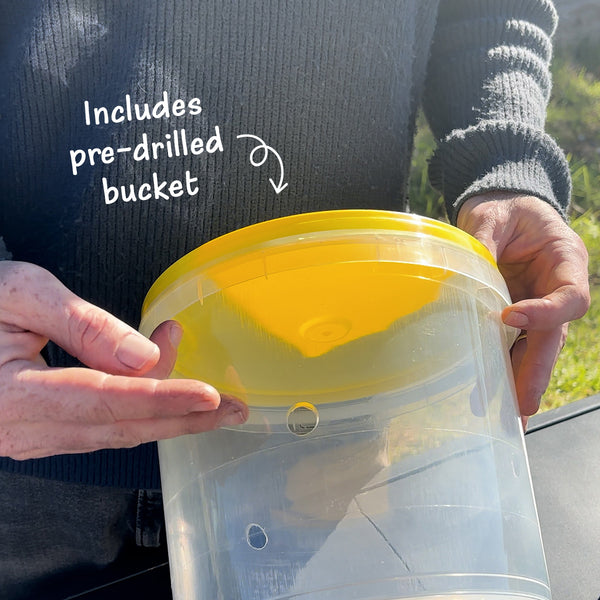
- A pre-drilled 5L plastic bucket (reusable)
- A brewer's bag for soaking your substrate (reusable)
- Gloves
- Alcohol Wipes (for sanitising)
- 200g of hydrated lime (enough for doing this method 20 times!)
- Micropore tape (enough for several buckets)
- 200g of Oyster Mushroom Spawn (enough to make one bucket)
WHAT YOU'LL NEED
You'll need to source a few things to complete the method. These are all easy to find from your local garden centre, nursery or hardware store.
You will need to source:
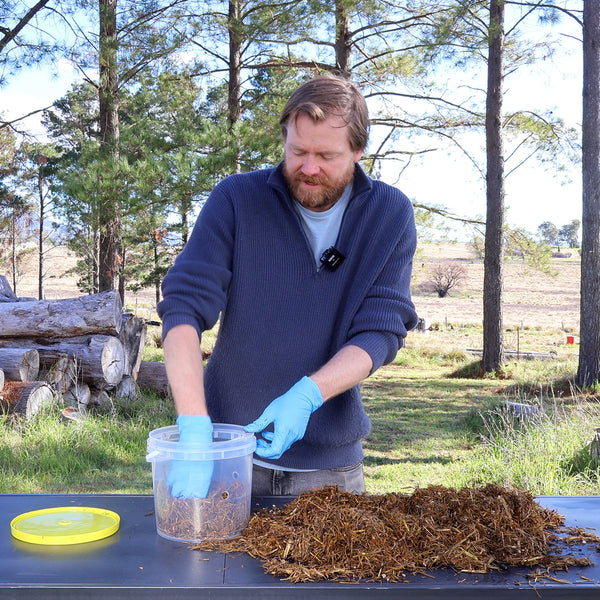
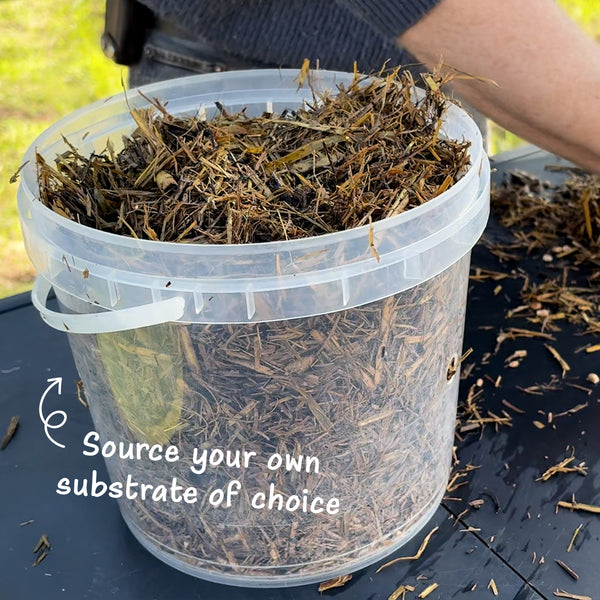
- Sugarcane mulch, chopped straw or hemp fibre to use as substrate for this method
- A larger bucket or container to soak your substrate
- A spray bottle or some way to provide humidity to your growing mushrooms
SHIPPING & DELIVERY
We’re a little team doing big things here at Little Acre and we do our very best to get your goodies on their way to you ASAP.
Gift messages
You can add a gift message to your order 🎁 Simply enter your message at checkout and we’ll print it on a gorgeous card - free of charge!
Dispatch
We ship orders Monday to Thursday. We do not ship Fridays to avoid extending delivery times. Please note this applies to all orders, including our express post shipments.
Tracking information
Once your order has been shipped, you’ll receive an email with your tracking link so you can stay up to date with where your order is at.
Delivery times
You’ll be able to check your unique delivery estimate provided by Australia Post via the tracking link in your email with the subject “Your order has been shipped!”.
Shipping costs
For shipping costs please visit our Shipping & Delivery page here.
Shipping destinations
Yippee! This product can be shipped Australia-wide. And we currently do not offer international shipping, sorry team!
Watch our how-to video
Growing oyster mushrooms in buckets is the simplest, most economical way to start growing mushrooms at home. You don't need any special equipment, just some sugarcane or straw mulch and water.
Watch our video tutorial which will teach you how to make oyster mushroom buckets at home in a few easy steps.
Benefits of growing oysters in buckets
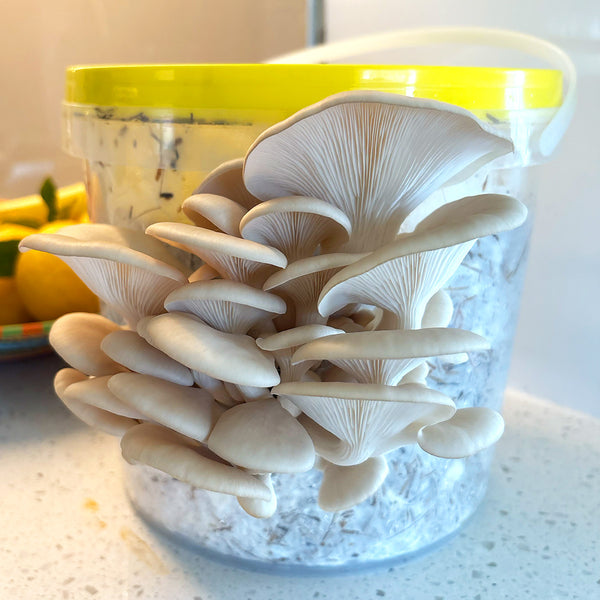
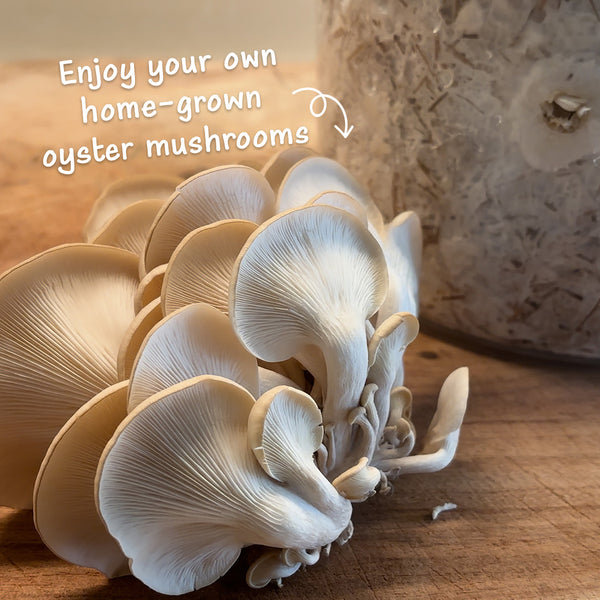
Growing oyster mushroom in buckets is super simple and the easiest method for beginner growers. You don't need any fancy equipment or lab set up and you can be harvesting your own home-grown mushrooms in just a couple of weeks time.
COST EFFECTIVE
No special equipment needed, just some mushroom spawn, a bucket, mulch and water.
BEGINNER FRIENDLY
Anyone can do this method, it's so simple, quick and easy.
REPEATABLE
Reuse your mushroom buckets over and over again, no single use mushroom bags!
Mushroom Bucket FAQs
What mushrooms can I grow using the bucket method?
Oyster mushrooms are the ideal choice for this method as they're fast, aggressive colonisers and work well on sugarcane/straw/mulch-based substrates. Not every mushroom species is suitable for this method, we recommend sticking to Oyster species and choose the oyster strain best suited to your climate.
What can I use as the substrate?
Sugarcane mulch is an excellent option for this method. If you're in an area of Australia with limited or no access to sugarcane mulch then chopped barley straw is the best option. Similar clean agricultural inputs such as hemp fibre can also work. Avoid sawdust as you can't control the hydration level with the soaking method. Avoid green materials such as lucerne hay or grass clippings as they have too much nitrogen. Stick with sugarcane mulch or chopped straw and you'll have no issues!
Why do I need hydrated lime?
You need to use hydrated lime, not garden lime, as hydrated lime is super concentrated and highly alkaline. This is what rapidly shifts the pH of the water to alkaline, reducing levels of competitor moulds and bacteria on your substrate without needing to heat-pasteurise or sterilise.
How much mushroom spawn should I use?
For best results we recommend using the whole 200g bag of spawn for a 5L bucket. This is about a 16% spawn rate, which is high, but as we're not using heat to treat the substrate we need more mycelium in the mix to out-compete any remaining competitors. The grain also acts as a nutrient in the mix helping the mycelium grow without the need to add additional nutrients to the substrate which can increase your chances of contamination from competitor moulds. If you're scaling this method up, we'd recommend maintaining a 15-20% spawn rate ratio, calculated on the final wet weight of the substrate. For example, the wet weight of the sugarcane mulch for the 5L bucket is about 1.2kg and we used 200g of spawn which is 16% spawn rate.
How long should I soak the substrate in the lime bath?
You need to soak the substrate for a minimum of 8 hours in the lime bath. We recommend preparing your substrate in the late afternoon and leaving it to soak overnight. Drain and inoculate the substrate the next morning.
How many mushrooms will I get from this bucket?
Expect to get 2-3 harvests from the bucket over a period of weeks, usually allow 2 weeks in between flushes. The first flush will always be the biggest and subsequent flushes will get smaller and small as the mushrooms draw the water out of the substrate.