Skill level
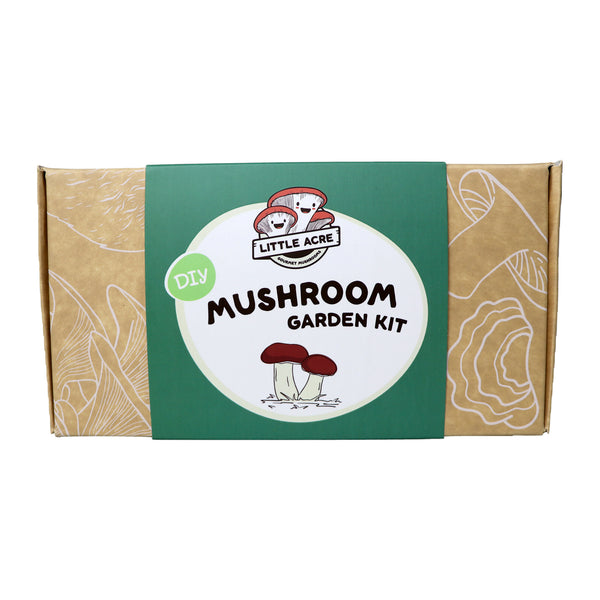
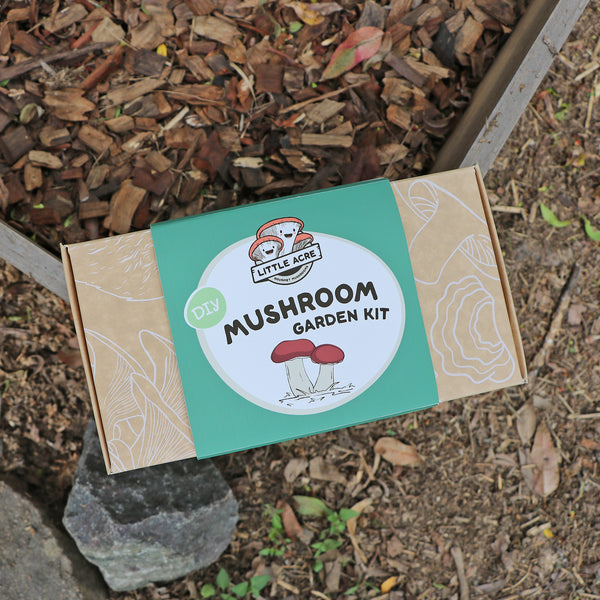
DIY Mushroom Garden Kit
Tax included
Beginner
Grow location
Outdoors in mulch beds or planter pots
Growing temp
Inoculate beds during the cooler months when outside temperatures are below 24°C, usually Autumn to early Spring
Time to grow
Wine Caps will grow after 8 to 12 weeks
Shelf life
Use immediately for best results or store refrigerated for 3 months.
WHAT'S INCLUDED
Create your own mushroom eden with our DIY Mushroom Garden Kit. Make the most of that permanently shady patch and watch the mushrooms pop up!
This outdoor growing method is ideal for people wanting to grow mushrooms at home but don’t want to bother with fussy fruiting rooms or expensive equipment. Let nature do its thing, and with just a little bit of attention and care, you can grow hard-to-find species while introducing beneficial fungi into your garden.
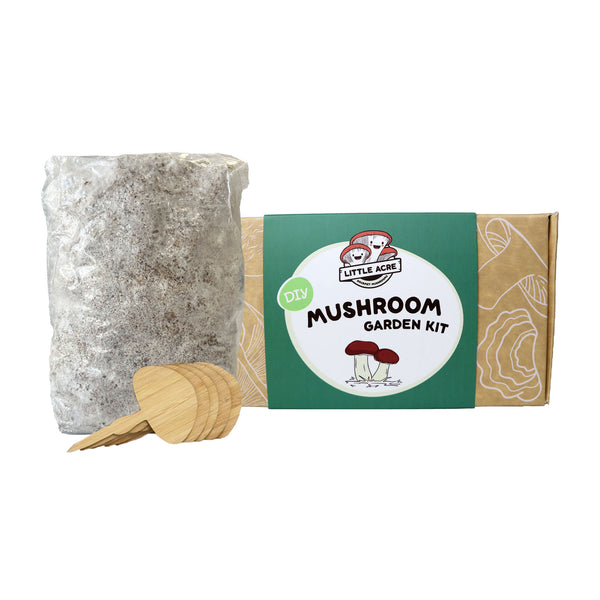
Included in this kit:
- Sawdust spawn inoculated with Wine Cap Mushroom
- this volume of spawn is enough to cover a 1m2 area
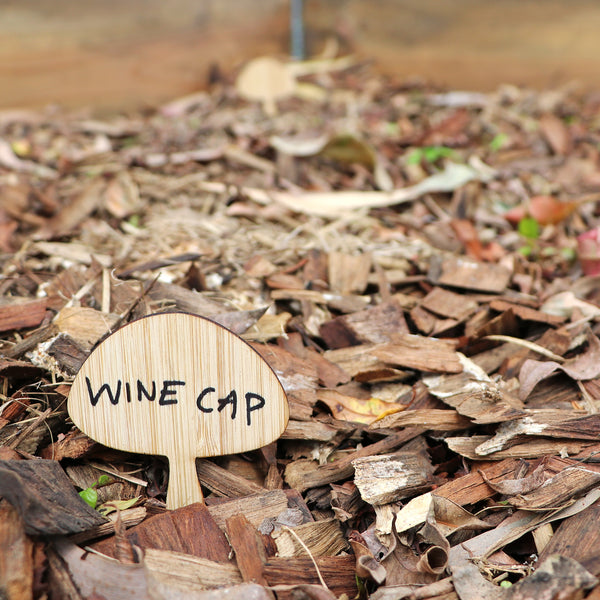
- Mushroom Garden markers
Follow our short step-by-step video tutorial to learn a super simple method for your personal supply of delicious home-grown mushrooms.
SHIPPING & DELIVERY
We’re a little team doing big things here at Little Acre and we do our very best to get your goodies on their way to you ASAP.
Gift messages
You can add a gift message to your order 🎁 Simply enter your message at checkout and we’ll print it on a gorgeous card - free of charge!
Dispatch
We ship orders Monday to Thursday. We do not ship Fridays to avoid extending delivery times. Please note this applies to all orders, including our express post shipments.
Tracking information
Once your order has been shipped, you’ll receive an email with your tracking link so you can stay up to date with where your order is at.
Delivery times
You’ll be able to check your unique delivery estimate provided by Australia Post via the tracking link in your email with the subject “Your order has been shipped!”.
Shipping costs
For shipping costs please visit our Shipping & Delivery page here.
Shipping destinations
Yippee! This product can be shipped Australia-wide. And we currently do not offer international shipping, sorry team!
Planting your Wine Cap Mushroom bed
Growing edible mushrooms in your garden beds can be super easy and cost-effective. You don’t need any special equipment, just a shady spot, some mulch and a hose. Use sawdust spawn as your inoculum and watch our video tutorial which will teach you how to incorporate Wine Cap mushrooms into your backyard or garden in three easy steps.
How to grow a mushroom bed in your garden - a quick guide
Now, team, this is just a summary to give you an idea of what’s involved. We really recommend watching the video tutorial start to finish and playing along step by step. The video contains extra tips and helpful hints to get your fungi flourishing. You'll be able to watch it as many times as you like until you feel like you're ready to start your mushroom garden bed.
1. MULCH
Spread a layer of straw in a clear, shaded spot and wet down with water.
2. INOCULATE
Distribute sawdust spawn across the bed.
3. WATER
Add a layer of hardwood chips on top and water well. Keep the bed moist.
Growing details
SPECIES DESCRIPTION
Species name: Stropharia rugosoannulata
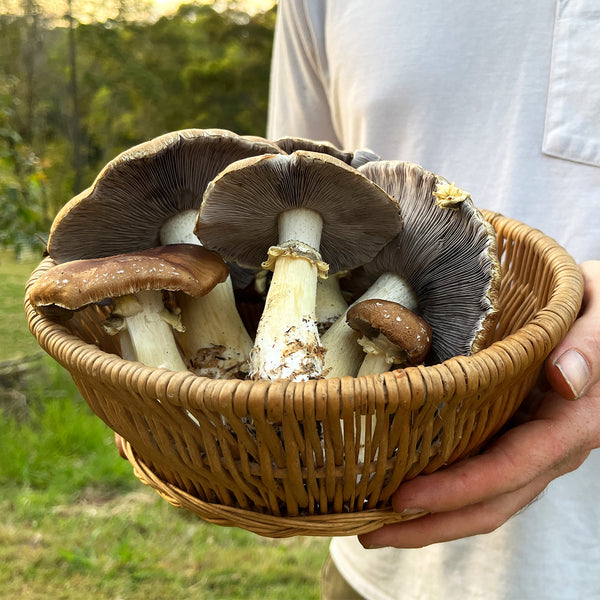
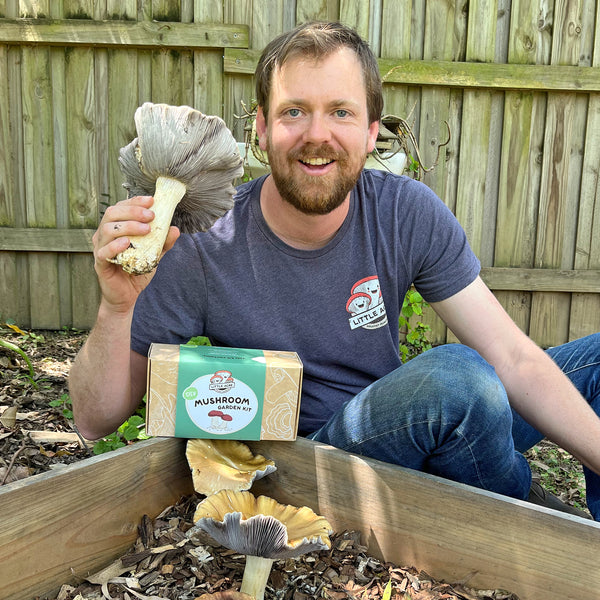
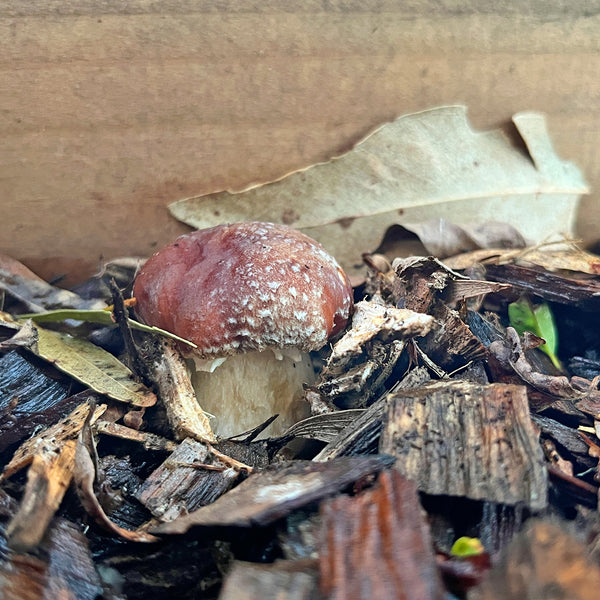
The Wine Cap Mushroom can grow as big as your head! That's why it's also known as the Garden Giant or King Stropharia. Wine Cap is mildly earthy in flavour with a crunch. This big boy can't be found in the grocery store so why not try and grow it for yourself.
PREFERRED SUBSTRATE
Wine Cap mushrooms like all sorts of woody debris so hardwood chips are an ideal substrate to use when making your mushroom bed. You can use a mix of straw and hardwood chips - if straw is hard to find, sugarcane mulch can be substituted.
Beds made with a mix of woodchip and straw mulch yield mushrooms fast and over several seasons.
Make sure there’s a mix of particle sizes so the bed doesn’t get too compacted but avoid large branches or other large pieces of wood as these will slow down the colonisation of the bed.
Wine Cap mycelium works quickly to break down mulches and build soil organic matter, great for maintaining moisture and promoting good soil health.
A bag of hardwood chips from your local garden centre will do the job and be the perfect amount for a 1m2 bed.
PREFERRED LOCATION
Choose a nice shady spot for your mushroom bed. Wine Cap mushrooms can tolerate some dappled sunlight. If you’re in a hot climate, full shade is best.
Ideal locations are around the base of trees or as part of the mulch in and around vegetable gardens where larger vegetables will provide shade.
Wine Caps like contact with the soil so make sure you lay your bed down on a clear patch of dirt.
GROWING CONDITIONS
Wine Cap: Grows in 10°C to 30°C
Establish the bed in the cooler months where temperatures are not exceeding 25°C. The mycelium needs several weeks to establish in the bed and very warm temperatures may kill the mycelium or make it difficult to keep the mulch bed moist. If the mycelium dries out you won't be able to grow the Wine Caps.
Wine Caps will fruit once the mycelium in the bed is established. This can take 8-12 weeks. Once the mycelium is established in the bed, it can better survive warmer conditions.
Once the mycelium is ready, triggers for fruiting to occur are a drop in temperature and an increase in moisture. Wine Caps will usually pop up after heavy rain if your bed is well established.
Expect to grow: Seasonally
Mushrooms are a living organism and it is very hard to predict exactly what you'll harvest! As you'll be growing with the elements, outdoors, your mushrooms will pop up when conditions suit - usually after heavy rain or a drop in temperature.
Once your mushroom garden bed is established, with a little bit of care, it can produce mushrooms for years to come!
Storage: If you're not going to start your Mushroom Garden straight away, store your mushroom sawdust spawn in the fridge for up to 3 months.
HOW TO IDENTIFY
Before you pick and eat any mushrooms from your garden, it's extremely important to correctly identify them. While unlikely, it is possible for other fungi to pop up in your bed so best to be sure what you’re picking.
To learn how to correctly identify wild mushrooms we highly recommend the book: Wild Mushrooming - A Guide for Foragers by Alison Pouliot & Tom May.
Below is a basic description of the features of the Wine Cap.
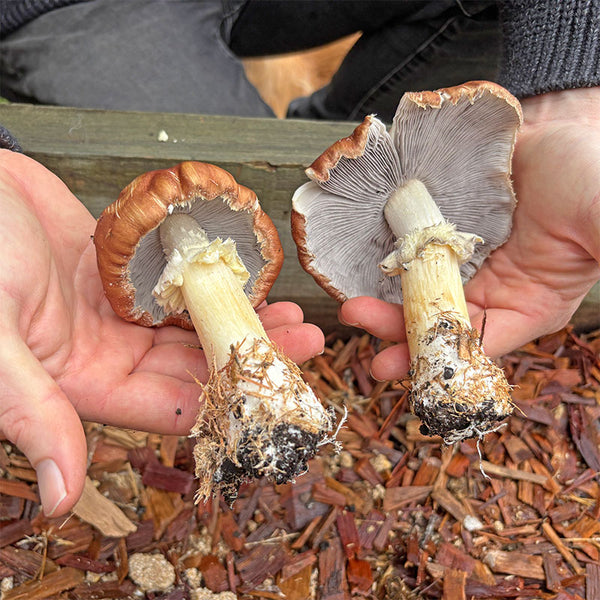
Size: The Wine Cap is characterised by its medium to large size compared to other mushrooms. It has a large cap, often 10-15cm or more in diameter when mature.
Colour: If grown in full shade the caps are typically a burgundy red wine colour. As they mature and if exposed to the sun the colour can fade to a duller reddish brown to tan colour. The stem is a creamy white colour.
Shape: The Wine Caps have a classic mushroom shape. When they first emerge the caps are bell-shaped. Once the stem emerges it is thick. When fully mature the caps will flatten and if left another day they will upturn exposing the gills.
Spore colour: When the wine cap is young there will be a white membrane covering the gills. This veil will drop as the cap matures and remain as a toothed ring around the stem. The gills are dark purple to charcoal black. The spore print of a Wine Cap is dark purple-brown, almost charcoal black.
Once you’re 100% sure on your identification, harvest your mushrooms before the caps upturn and release their spores - this can affect the flavour.
You must always cook mushrooms - eating raw mushrooms can cause digestive upset.
Mushroom Garden Bed FAQs
What is the best time of year to plant my Wine Cap Mushroom garden bed?
As this method of growing is outdoors you need to ensure you're choosing the right species for your climate and preparing your mushroom garden bed in the correct season. Download our free Seasonal Planting Guide.
Can I use pine woodchips?
No, pine is a softwood that has lots of antifungal properties and resins. The Wine Cap mushrooms won't like to grow on this type of wood. Use hardwood chips or sawdust from species such as Eucalypts or other flowering trees.
What if other mushrooms grow in my garden?
If you find that other fungi or mushrooms are popping up in your mulch bed, it's possible that these were present on the mulch already and have grown because your Wine Cap mycelium has failed to take off. If you have competitor fungi in your mulch bed you may need to get some new materials and start your bed again. If you're unsure about identifying mushrooms, send us a photo to hello@littleacre.com.au and we can help or consult a well referenced guide such as Wild Mushrooming. Never pick and eat a mushroom that you can't 100% positively identify!
Do I have to use all the sawdust spawn in one go?
For best results we recommend using all the sawdust spawn at once when you first open the bag. This will give you the best chance of success and prevent the sawdust spawn aging or contaminating after being opened. If you're not ready to use your sawdust spawn, store it in the fridge for up to 2 months.
When will the Wine Caps fruit from the bed?
The wine cap mycelium needs 8-12 weeks to grow in your mulch bed and establish. Once the bed is knitted together with thick layers of wine cap mycelium and it's been 8-12 weeks the Wine Caps will fruit after heavy rainfall. If you haven't had heavy rainfall and your bed has reached maturity, you can trigger fruiting by giving your bed or planter box a thorough watering.
Are there any pests that will want to eat the Wine Caps?
Yes. Common pests like slugs, rodents and possums will want to eat your tasty Wine Cap mushrooms. We recommend using some fine wire, shade cloth or netting to protect your mushroom garden bed once it is close to fruiting time. Bush Turkeys can also make a mess of your mulch beds!
